Week 6: Feb 11-15
How To Make Your Color Wheel
I planned this wheel to be simple, and in a way, it is – but I must admit, I haven’t made one for years, so I had forgotten how long-winded it is if you try to do it all at once!
I made one especially for this tutorial so that I could describe it properly, but I recommend a slightly different approach if you think following the instructions to be too much bother.
I still think it a good idea to do the mixes because it really does help to understand color, but I know that there are several things that will make you put it off. They did me!
I’ll write about other ways of doing this in a separate article.
Drawing the wheel
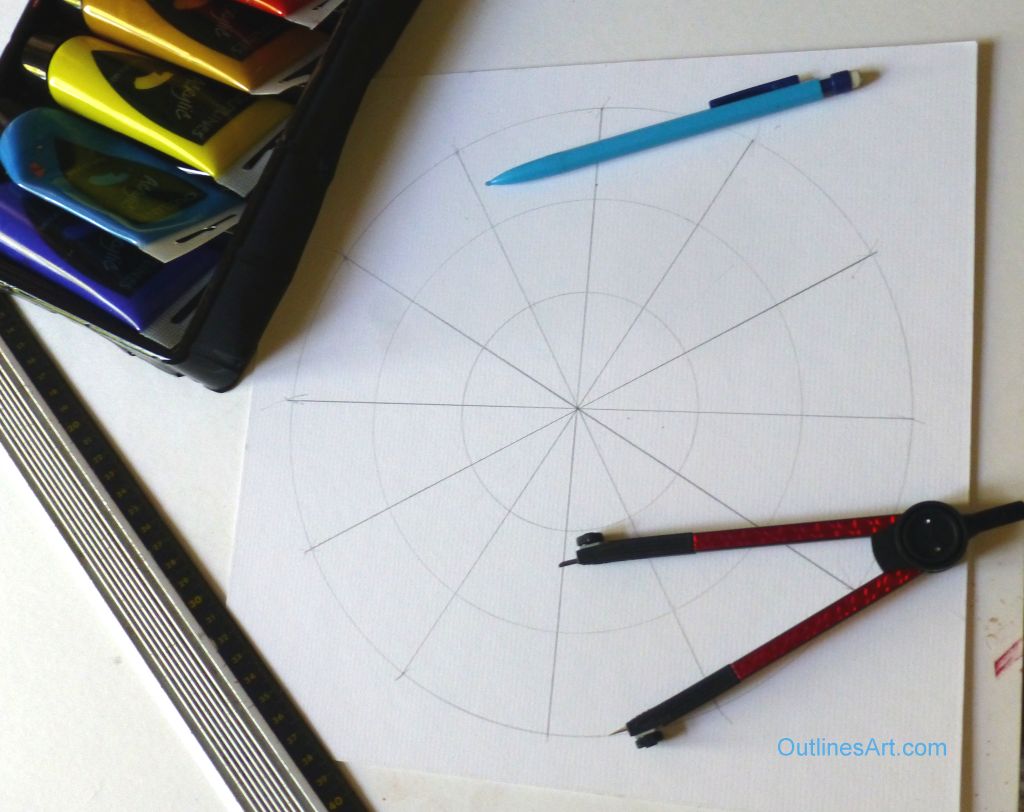
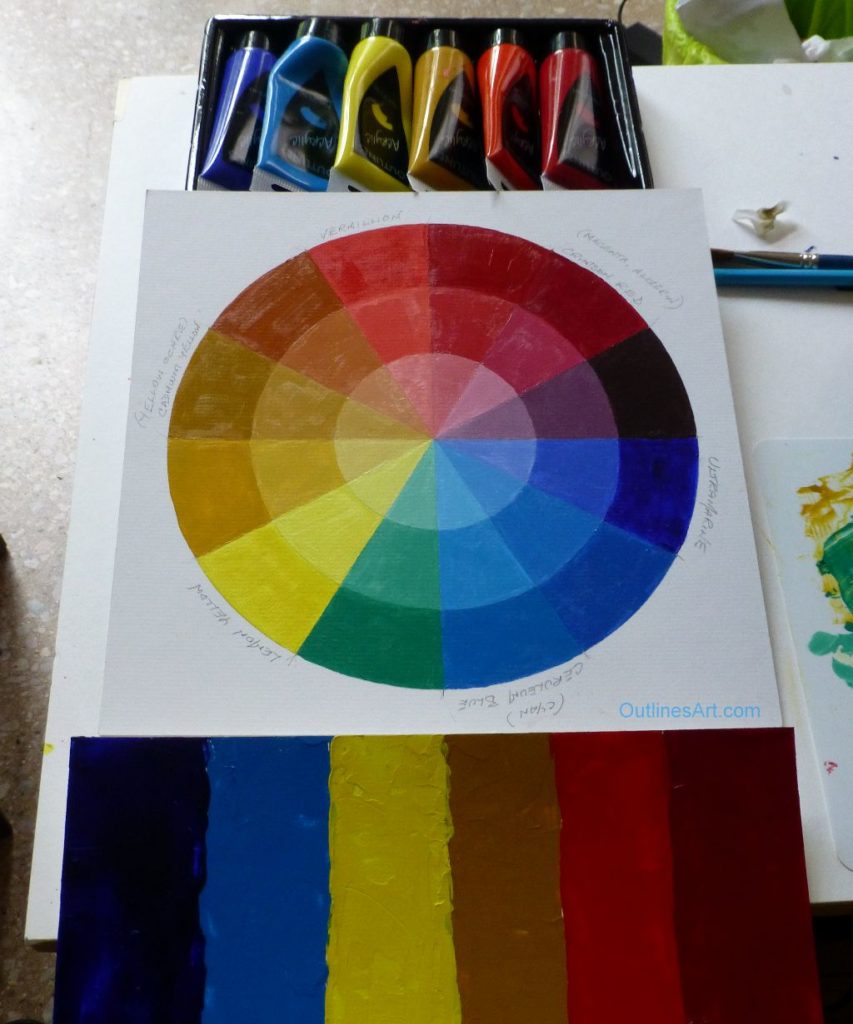
The wheel has 12 triangular sections in a circle with areas for mixing with white. Six sections are for the pure colors and their lighter mixes, and six are for mixes between two adjacent colors.
I made mine on a piece of card 28cm square, but you can draw one on a larger piece of paper if you wish.
The measurements I give relate to this size so adjust to suit yours.
Pic. Gather materials to make a simple color-wheel, be prepared.
Useful equipment to have ready:
A pair of compasses
A straight Ruler
A sharpened pencil or propelling pencil
A pencil rubber (eraser) might come in handy…
Just follow these steps to make a circle with 12 sections:
1. Draw a square (28 x 28cm)
2 Find the center by placing a rule from corner to corner and make a short line near the middle. When you take the second diagonal, the cross it forms gives the center of the square.
3. Draw a circle with a 12cm radius using the compasses.
4. Draw a center line through the circle using the center point to guide you (I found the center of one side of the square to make it vertical).
5. Set the compass at 12cm radius. With the point on the vertical line at the top edge of the circle, make a mark on the circumference of the circle, both sides and then do the same with the point on the bottom edge.
6. Draw two inner circles to make the lighter sections, cutting the triangles into approx. thirds.
7. Now divide those triangles again, drawing a line through the center.
Painting the main six colors.
I like to start with the colors straight from the tube leaving a blank ‘triangle section’ between each color. By the time you have made the lighter shade and the very light shade of each one, you will have a feel for mixing them.
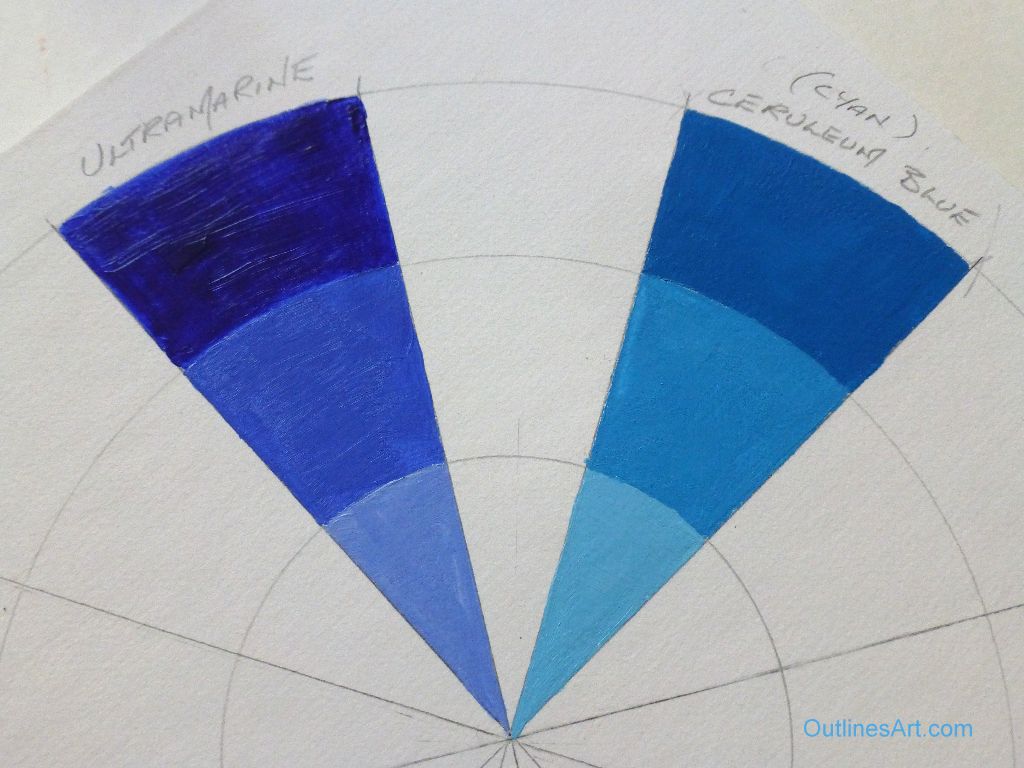
Pic. 13 Painted Blue sections of the color wheel
By leaving them to dry, it will be easier to handle when you come to mix the colors and make their shades.
Painting the mixed colors.
You can do the mixes in any order you like. Each time you will mix two colors to make a third and then add white to that mix for the shades.
I find it’s best to make enough pure color to last through the white mixes, otherwise it will be difficult to mix it exactly the same again. The point is to see what a mix produces when it has white added.
Note. If you are doing this with watercolor, you would simply add water to make lighter shades.
Only mix one pair of colors at a time and clean your brushes and/or palette knife thoroughly each time to avoid contaminating the next pair of colors, and to avoid paint getting stuck in the bristles!
Mix the similar colors first.
Let’s start with the Blues.
Ultramarine (warm) and Cerulean (cool)
Always add dark to light a bit at a time because the dark colors will change things much more dramatically. Add a bit of Ultramarine to the Cerulean and mix it well before adding more. keep adding more until the blue is about mid-way between the warm and cool, having lost both its reddish and greenish tinges. You will discover you have a blue resembling cobalt blue.
Paint the outer part of the triangle between the two blues then add some white to make a middle shade and paint the next section of the triangle.
Squeeze some white on the pallet and add just a little of your mix to make the lightest shade, you won’t need as much because this is a smaller area. If you go over the edge of the dry colors, you can wipe off the excess paint, if you’re quick about it!
Lemon Yellow (cool) and Yellow Ochre (warm)
By mixing these two you can achieve warm soft yellows for a less acid feel when you are painting summer scenes and people. Again, aim for something between the two yellows.
The process will demonstrate the range of yellows you can make with this mix.
Again, follow the procedure for adding the white.
You will see you can make some lovely soft creamy colors.
Vermillion (warm) and crimson red (cool)
You know what to do now! You are aiming for a good strong red, neither orange nor pinky. Go for it, then add your white as before.
Have a rest, a cup of tea or something, to give the paint a chance to dry. You could leave the last bit to do another day as well.


